Watch the getting started video or read on below
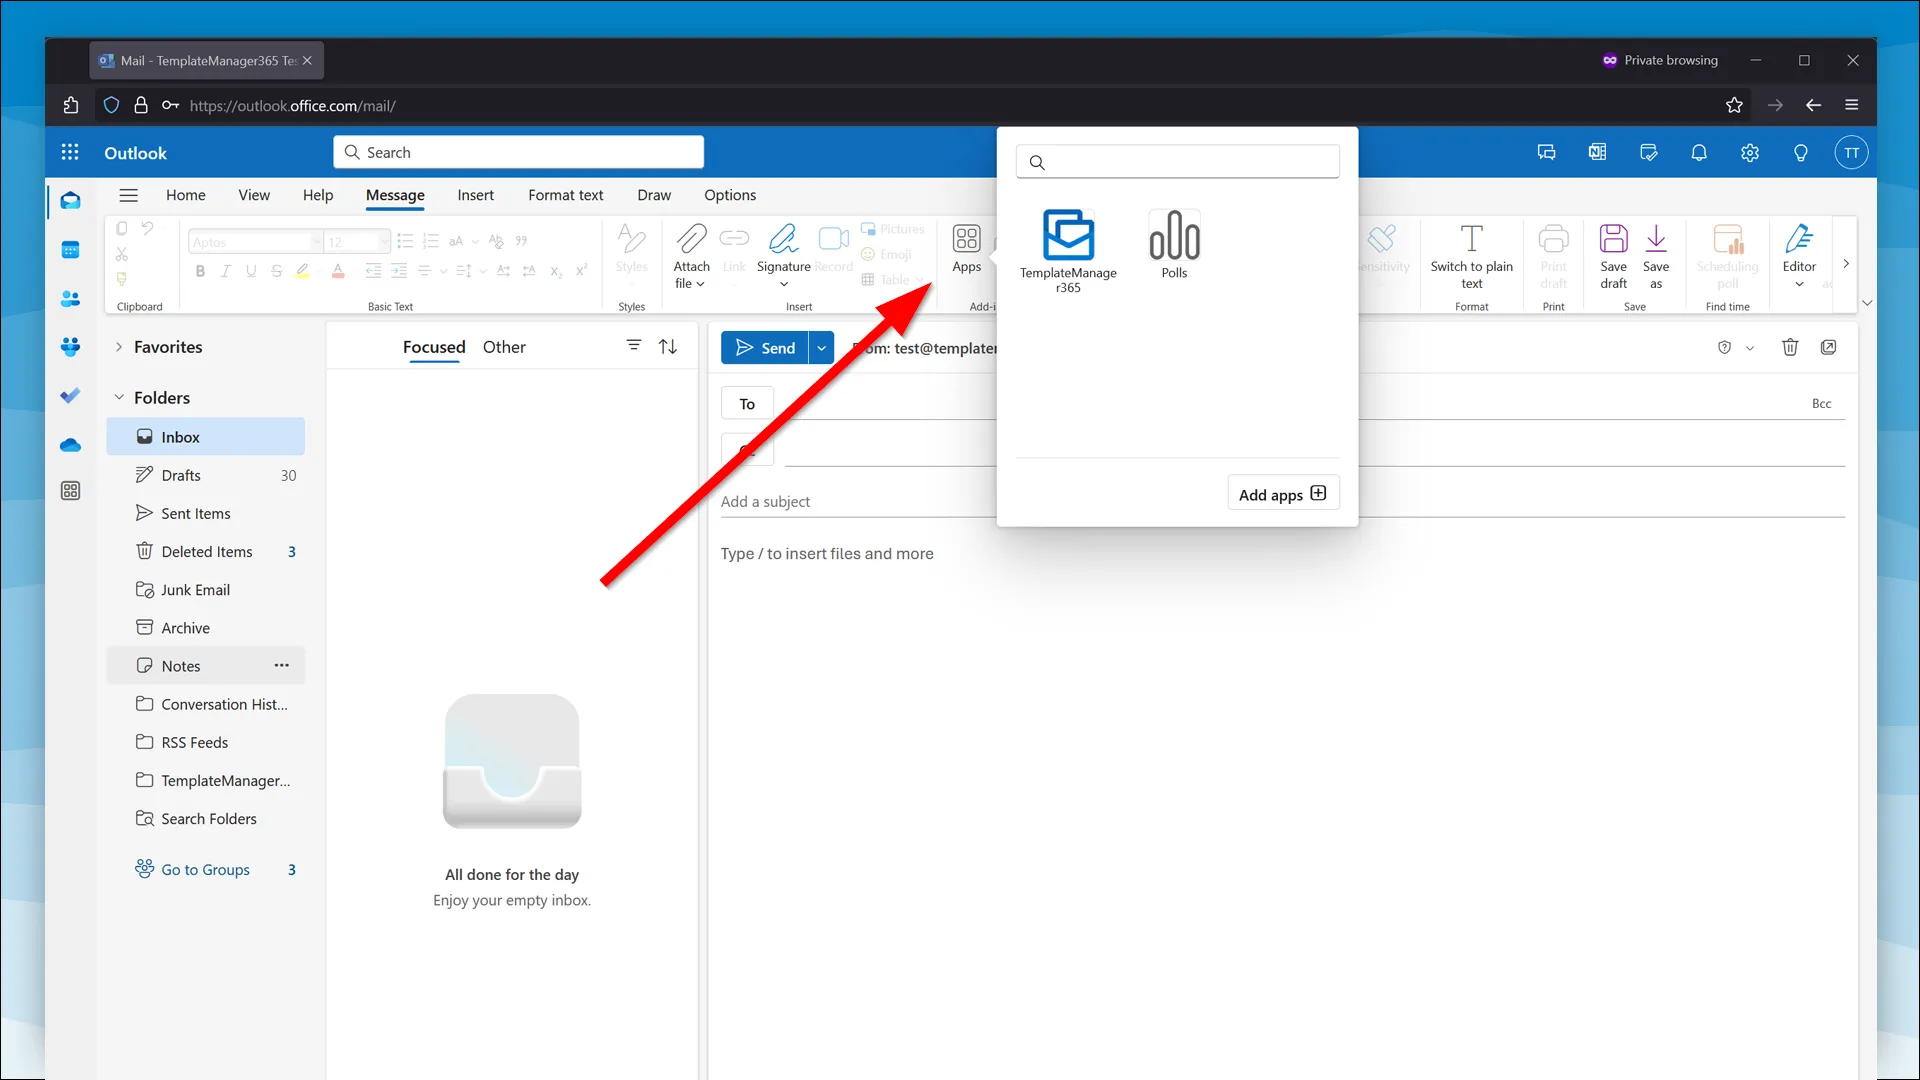
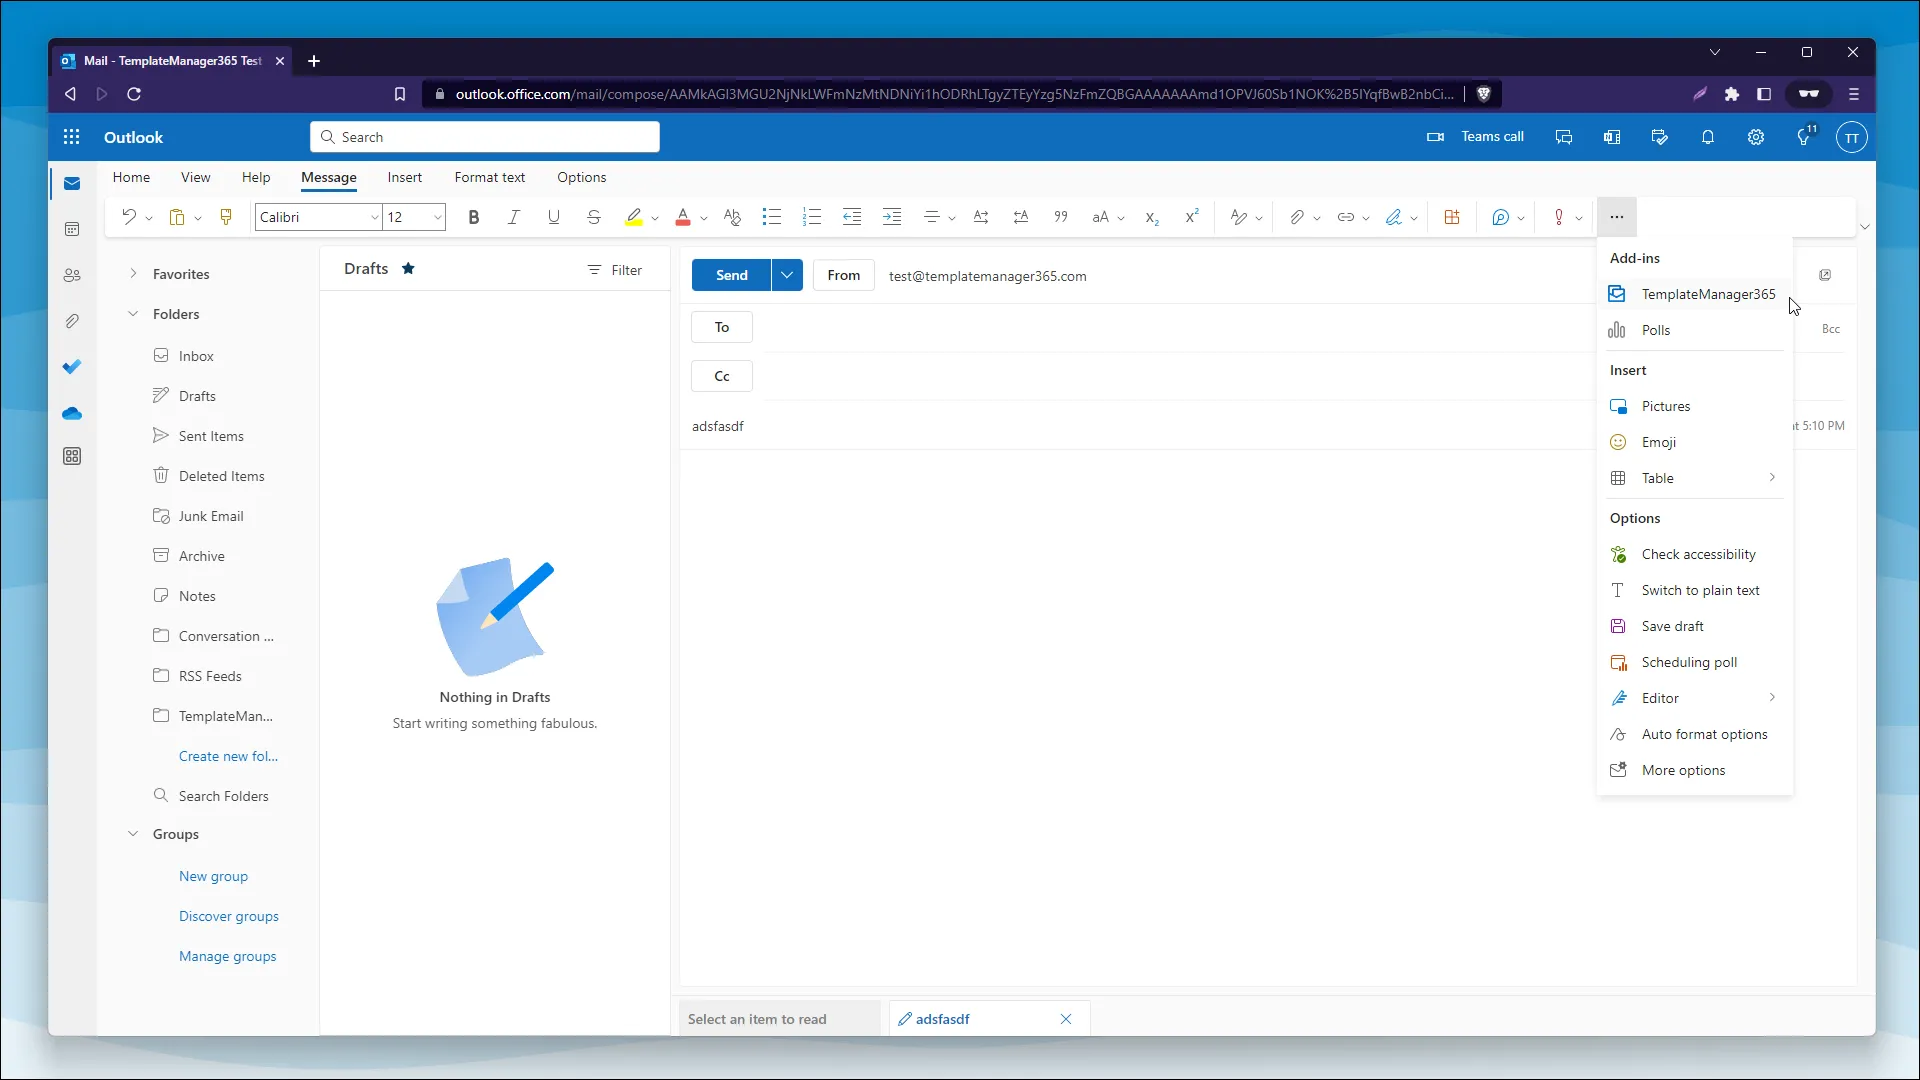
Step 1. Create a new email and start the add-in
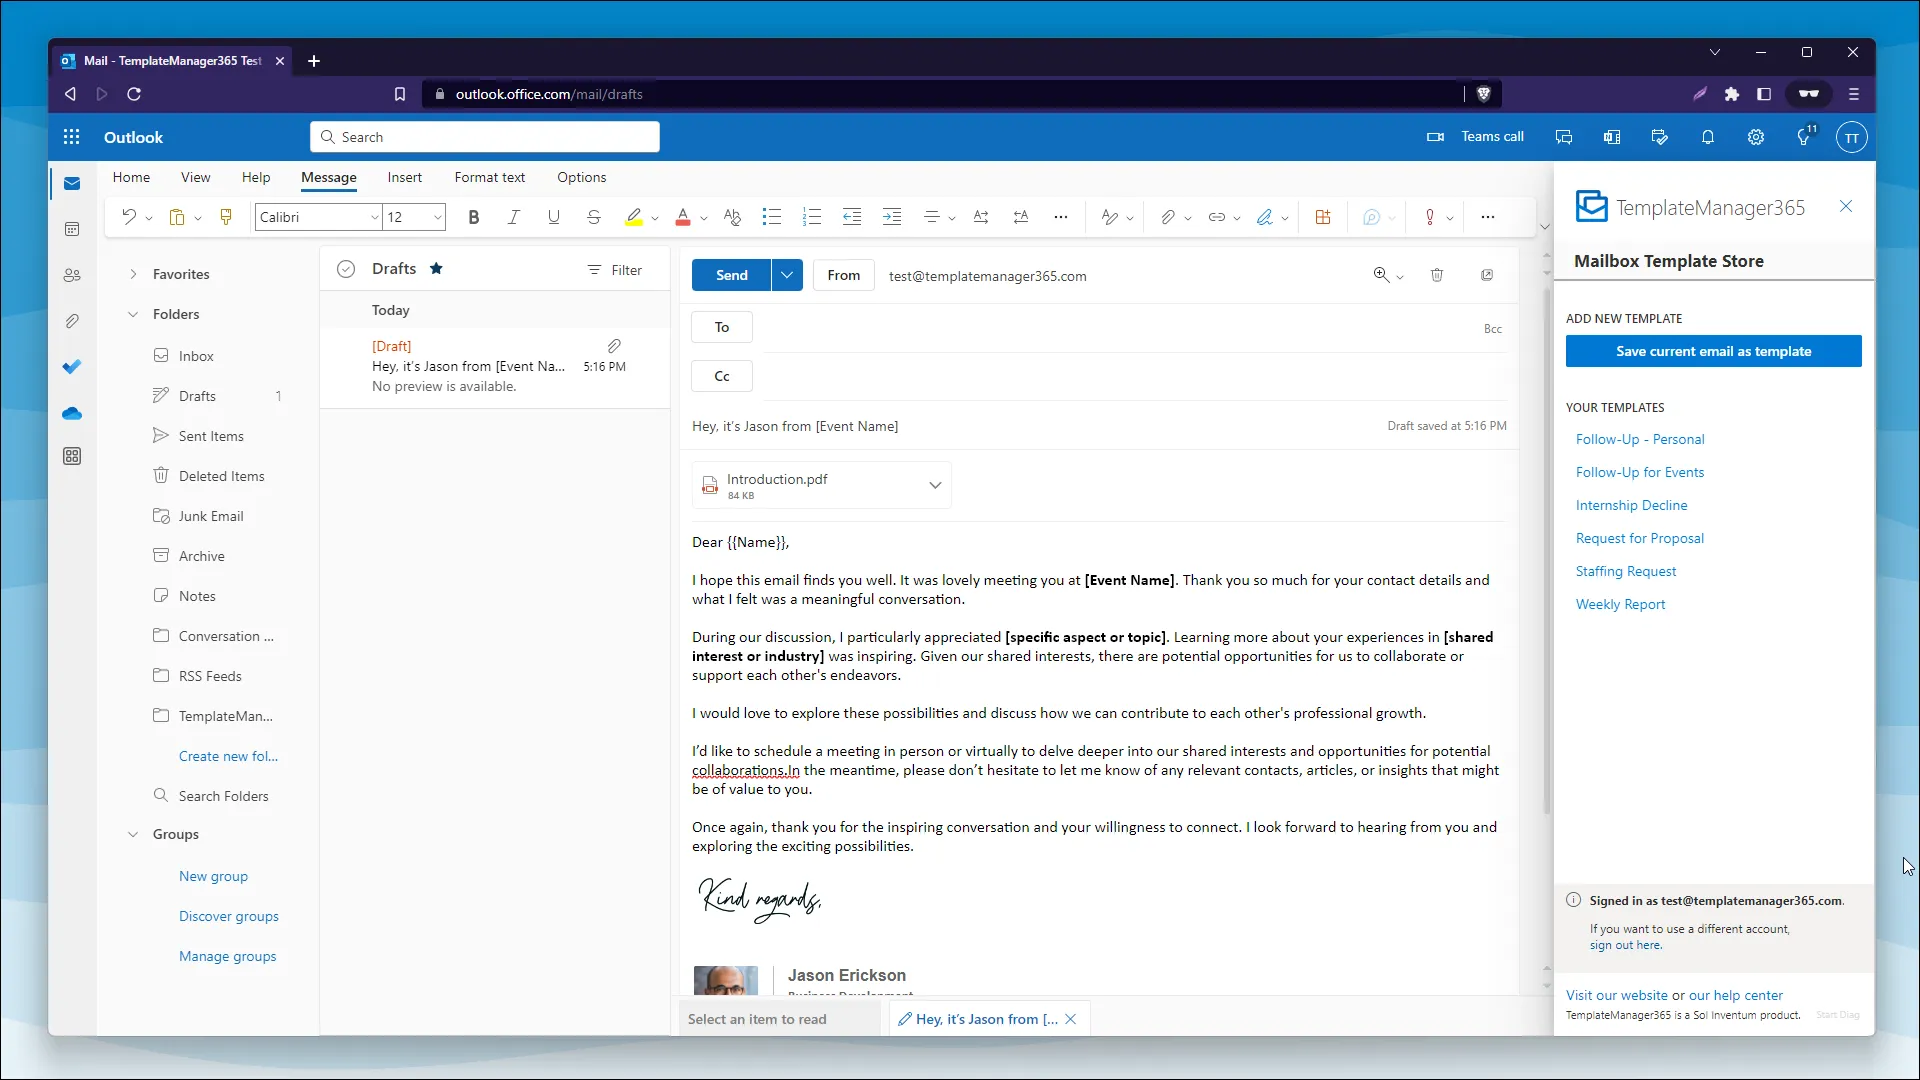
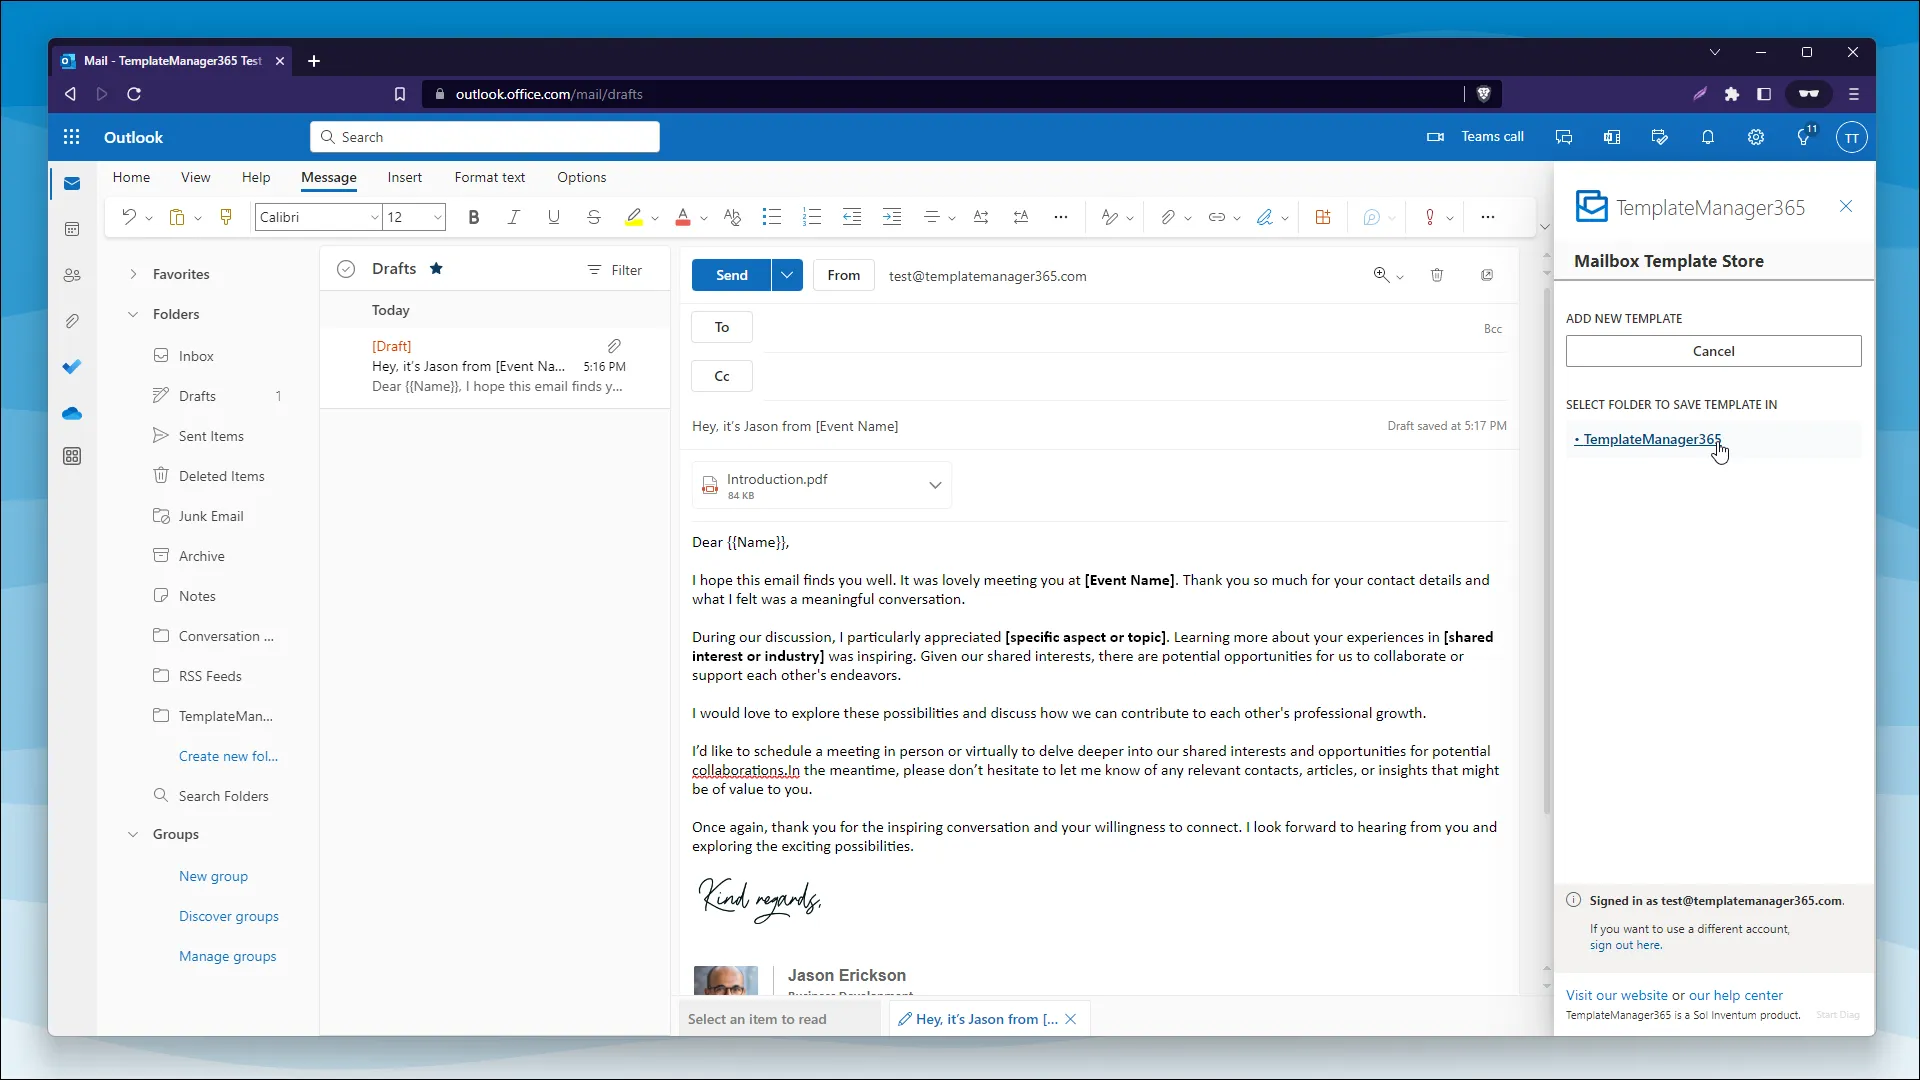
After you have installed the add-in you you will find the TemplateManager365 icon when you create a new email.
Depending on your version of Outlook it might be inside the Apps menu or on your ribbon.
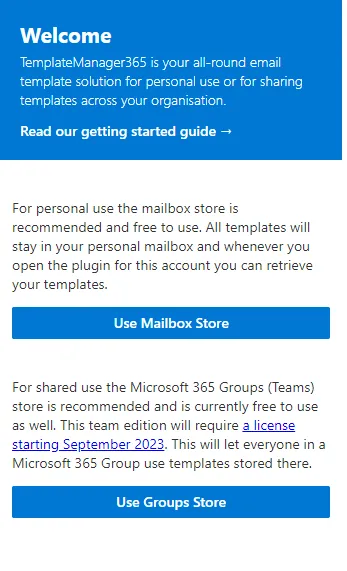
First you need to select the template store you want to use.
Use Mailbox Store: This store is for storing templates in your personal mailbox in the free edition. You can start the plugin on any device (Windows, Web or Mac) connected to the same mailbox and have access to your templates. Templates are stored in a hidden mailbox folder.
Use Groups Store: This store is for sharing templates between members of the same Microsoft Group. You will require a license per user to use the team edition. Templates are stored in a root folder in the group’s drive.
You will then be asked to provide your Microsoft 365 credentials and consent to the permissions required by the add-in. These differ depending on which store you choose, see here.
Step 2. Save a template
When you have written your email you can save it as a template by clicking on the “Save current email as template” button in the add-in. You will be asked which folder you want to save in.
If you want to create subfolders, press cancel and create the subfolder first by hovering over a parent folder and clicking the create icon. Then click the save button again and select the subfolder.
Step 3. Loading a template
Simply select the template from the add-in sidebar and it will automatically load the email subject, body and attachments.